
Mini Split Installation Guide for Bay Area Homes

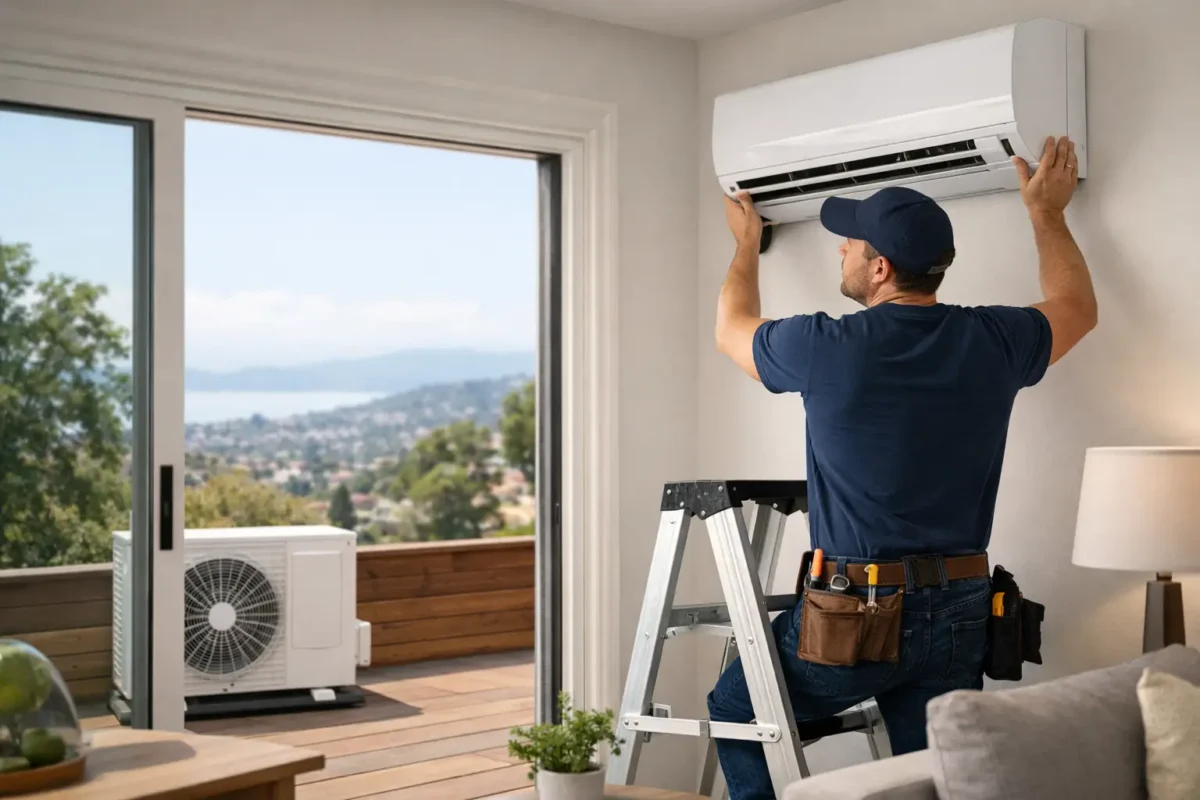
A ductless system can solve a frustratingly common Bay Area problem: one room stays warm while another feels too cold, and the central system never seems to make everyone comfortable. This mini split installation guide explains what homeowners should expect before, during, and after installation, so you can make a confident decision about comfort, efficiency, and cost.
Mini splits are compact heating and cooling systems that connect an outdoor unit to one or more indoor air handlers. Because each indoor unit can be controlled separately, they are especially useful for home additions, converted garages, upstairs bedrooms, older homes without ducts, and areas where your existing HVAC system cannot keep up.
Start With the Right Mini Split System
A successful installation begins long before equipment arrives at your home. The right system is not simply the largest unit that fits the budget. Oversizing can cause short cycling, uneven temperatures, excess humidity concerns, and unnecessary energy use. Undersizing leaves the system running constantly without delivering the comfort you expected.
A qualified HVAC professional should evaluate the room or rooms being conditioned, ceiling height, window size and sun exposure, insulation, occupancy, and the layout of the home. In San Jose and nearby communities, afternoon sun through large windows can substantially affect a west-facing room. A room over a garage may need a different approach than a well-insulated bedroom in the center of the home.
You also need to decide whether a single-zone or multi-zone system makes more sense. A single-zone mini split pairs one outdoor unit with one indoor unit. It is often a practical fit for one problem room, a detached office, or a new addition. A multi-zone system connects several indoor units to one outdoor unit, allowing individual temperature control in different spaces.
Multi-zone equipment can reduce outdoor equipment clutter, but it is not automatically the best value. It may cost more upfront, and the right design depends on how often each room is used and whether the spaces need heating or cooling at the same time. A careful load calculation and an upfront discussion of your goals help prevent expensive compromises later.
Mini Split Installation Guide: What the Process Includes
Professional mini split installation is a precise mechanical and electrical project, not a simple wall-mounted appliance upgrade. The installation team should first confirm equipment placement, access needs, electrical requirements, and the best path between the indoor and outdoor units.
Choosing Indoor and Outdoor Locations
The indoor air handler needs a location that allows air to circulate across the room without blowing directly at a bed, desk, or favorite seat all day. It should be mounted securely on an exterior-facing wall when possible, with enough clearance for service and proper airflow. The location must also support a correctly sloped condensate drain line, which carries away moisture produced during cooling.
The outdoor condenser needs stable, level support and adequate clearance around it. It should be accessible for future maintenance without obstructing walkways or creating unnecessary noise near windows, patios, or neighboring properties. Installers may use a ground pad, wall brackets, or another approved mounting method depending on the site.
Placement is about more than appearance. Long refrigerant line runs, awkward drain routing, direct afternoon sun, and limited access can all affect installation complexity and long-term performance. A good contractor will explain the trade-offs before work begins rather than surprising you after the system is already installed.
Electrical, Refrigerant, and Drainage Work
Mini splits generally require a dedicated electrical circuit sized for the specific equipment. Depending on the home and the system selected, electrical upgrades may be necessary. This is one reason homeowners should avoid treating a mini split as a plug-in solution.
The indoor and outdoor units are connected by refrigerant lines, control wiring, and a condensate drain. Installers create a small wall opening for these components, protect them with an exterior line cover where appropriate, and seal penetrations to help prevent air leaks and moisture intrusion.
Refrigerant piping must be correctly sized, pressure-tested, evacuated, and charged according to manufacturer specifications. Skipping these steps or rushing them can reduce efficiency, shorten equipment life, and cause comfort problems that are difficult to diagnose later. Proper condensate drainage matters just as much. A poorly pitched or improperly connected drain can lead to water damage, odors, or recurring service calls.
Permits and Local Requirements
Many Bay Area mini split installations require permits and inspections, particularly when electrical work is involved. Requirements can vary by city, property type, and the scope of the project. A licensed HVAC contractor can help determine what applies to your home and coordinate the work accordingly.
Permitting is not just paperwork. It provides a checkpoint that the installation meets applicable safety and building requirements. For homeowners, that can matter when selling the property, filing an insurance claim, or simply wanting confidence that the system was installed responsibly.
What Happens on Installation Day
Most straightforward single-zone installations can be completed in one day, while multi-zone projects or homes requiring electrical modifications may take longer. Before the crew arrives, clear a path to the work area, move fragile items away from the indoor installation wall, and make sure pets are safely contained.
A professional team should protect the work area, review the installation plan with you, and keep you informed if site conditions require an adjustment. Once the equipment is mounted and connected, the technicians should test heating and cooling operation, confirm drainage, check controls, and explain how to use the remote or wall controller.
Before the appointment ends, ask where the filter is located, how often it should be cleaned, what sounds are normal, and who to call if you notice a problem. You should also receive clear information about warranty coverage and any recommended maintenance.
Protect Efficiency After the Installation
Mini splits are known for efficient, room-by-room comfort, but their performance still depends on how they are used and maintained. Set a reasonable temperature and let the system maintain it rather than making frequent large adjustments. In many homes, a steady setting is more efficient and more comfortable than repeatedly turning the unit off and on.
Clean or inspect indoor filters regularly, especially if you have pets, allergies, or a high-traffic household. Keep furniture, curtains, and decorations away from the air handler so airflow is not restricted. Outside, keep leaves, landscaping, and stored items clear of the condenser.
Professional maintenance can catch small concerns before they become costly repairs. A technician can inspect electrical connections, clean coils, verify drainage, check refrigerant performance, and ensure the system is operating as designed. This is particularly helpful before a hot summer stretch or a cool winter season when you depend on heat pump performance.
When Professional Installation Is the Better Choice
DIY mini split kits may look appealing because of their advertised convenience, but the savings can disappear if the system is incorrectly sized, improperly wired, poorly drained, or installed without required permits. Manufacturer warranty terms may also depend on professional installation. The project involves electrical safety, refrigerant handling, structural mounting, weatherproofing, and code considerations that deserve experienced attention.
For homeowners who want dependable results, licensed technicians provide more than installation labor. They help identify the right capacity, protect the home during the work, and stand behind the finished system. HVAC DOME helps San Jose-area homeowners evaluate ductless options with comfort goals, equipment efficiency, and transparent project planning in mind.
The best mini split installation is the one you barely have to think about afterward: the room reaches the temperature you want, the system runs quietly, and you know it was installed with care. Start with a thoughtful assessment, ask clear questions about the scope of work, and choose a team that treats your home comfort as a long-term responsibility.